- Messages
- 225
- Likes
- 202
- City
- Not-US
- State
- Non-US
- Country
- Canada
- What I Drive
- 2011 Fiesta SE
Welcome to JP's General Tech on How to detail your interior.
Refer to my JP's GT Introduction to detailing 101 for more information on basic detailing tools and items.
The easiest way to keep your car's interior clean is largely based on your daily habits. Obviously a car that sees more use, or more passengers will generally need more frequent cleaning. The more daily care you put into maintaining a clean car, the less of a chore cleaning will be. Do you toss your work clothes in the back seat and boots on the floor? My OCD about car cleanliness has me constantly finding solutions to problems such as having a plastic bin to place my dirty work boots into and driving home in regular footwear. Sometimes circumstances dictate what your car will look like. A trip to the beach, parking on gravel, tracking in salt (for those who live in the rust belt). Inevitably your car's inside will need to be cleaned and protected periodically regardless of your efforts.
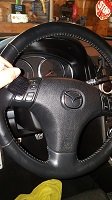
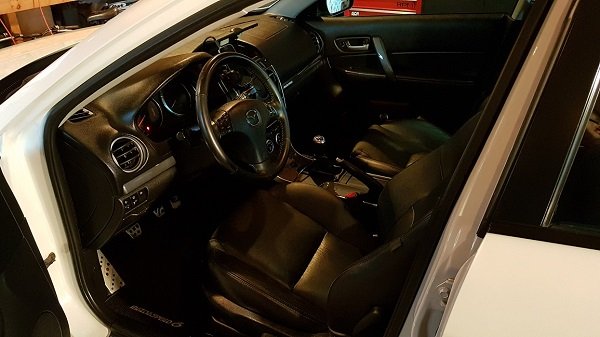
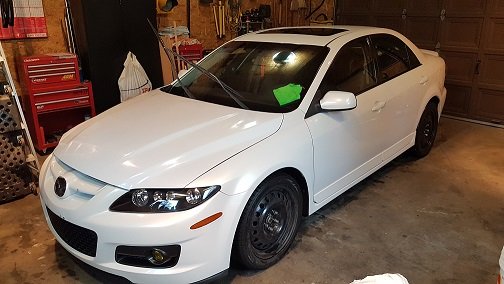
I will be documenting the work on my 2006 Mazdaspeed 6. Although this car is well maintained and receives regular detailing, I hope to display a through detail maintenance roadmap.
Process - This is a rundown of the path I follow to do a regular interior detail. I will expand on each below.
Carpet & Mats
Vinyl/Plastic Cleaning & Protection
Leather Cleaning & Rejuvenation
Windows
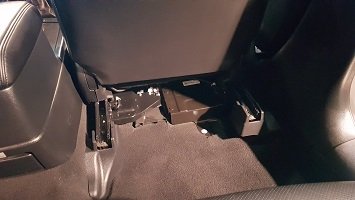
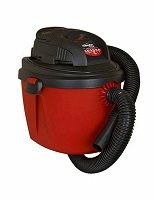
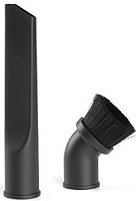
Carpet & Mats - Start with removing any garbage from the car. Also remove loose items and set aside, empty the cup holders & storage shelves and take out your floor mats. Vacuum the car to remove dirt and debris using the brush attachment and vigorously scrub the carpet. Reach beside the seats and in tight spaces with a crevice tool. Vacuum cup holders and map pockets, being careful not to scratch any plastic.
When vacuuming inside the car be mindful of the hose that lays across the plastic door threshold. Any grit and dirt from the hose touching the ground could also scratch plastics. Never pass the hose across the interior to vacuum the other side, move the vacuum around to the other side of the car.
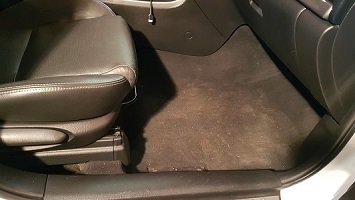
Vacuuming will remove dirt and debris, but next the carpet needs a little help to loosen up a little more dirt and to help rejuvenate the fibers. Spray 2-3 mists of a quality All Purpose Cleaner (APC) and using a utility brush, scrub left to right and front to back.
Apply APC sparingly, we are not looking to shampoo the carpet, just to help loosen dust and oils embedded in the carpet. Over application can lead to residual APC in the carpet which can be reactivated by water on your shoes on a rainy day or while washing your car, then will gently clean the soles of your shoes using your carpets.

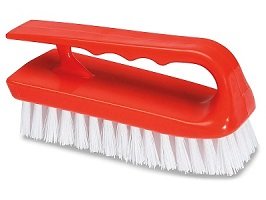

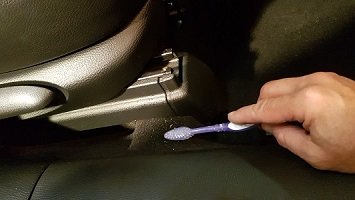
Use a toothbrush to reach tight spaces where the utility brush cant. Next spray 5-6 mists of water from a spray bottle and again using a utility brush, scrub left to right and front to back. With a toothbrush scrub along the edge of plastic trim to loosen up fine particles from under the edge of the plastic, especially along the door threshold.
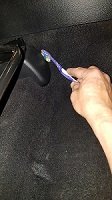
Follow up with a final vacuum of the carpet to remove any loosened particles. Using a microfiber (MF) towel, absorb any remaining diluted solution from the carpet.
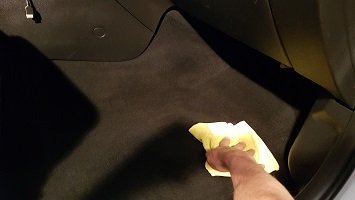
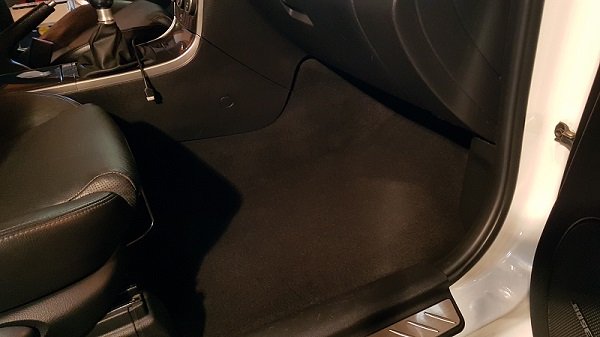
Complete the same procedure on your factory carpeted floormats. If you have wear spots from your heels on the drivers mat, scrub well with the utility brush to loosen up and rejuvenate the carpet pile.
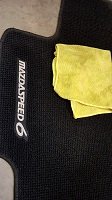
Vinyl/Plastic Cleaning & Protection - There are a couple of paths to follow here depending on how much detailing that needs to be accomplished. For seriously soiled interior plastics, such as spills, dirt, thick layer dust, you would be best to start with a bucket of warm soapy water and cleaning rags. Complete the following roadmap wiping the large areas with warm soapy water then follow up with an APC wipe down as follows. If you don't require a deep detailing, start directly with an APC, a MF towel and some detailing hand tools. Move the front seats to the full back position.



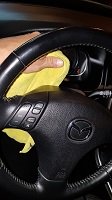
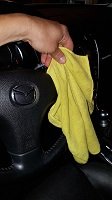
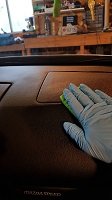
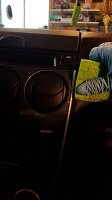
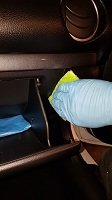
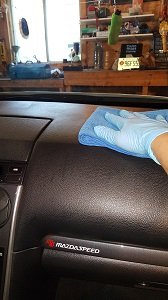
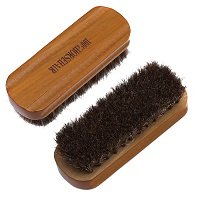
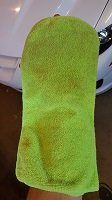
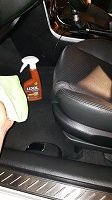
Start by applying a few sprays of cleaner to a MF towel. Do not apply cleaner directly to the surfaces you are trying to clean, instead hold the MF towel outside the car and spray. Begin with cleaning the dash on the passenger side as usually you have more room to clean a larger area. I will clean a car with my feet outside the vehicle, if you require to sit fully inside the car place something on the carpet you just cleaned. While wiping down, regularly refold your MF towel, respray and continue. Open compartments to clean around and inside. Use brushes and q-tips to clean vents and small spaces.
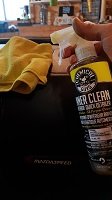
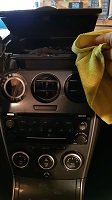
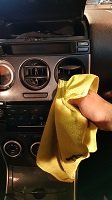
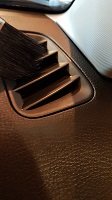
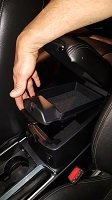
Work down the center of the dash to the console, cleaning around the shift boot and into the cup holder. A toothbrush comes in handy to clean seams and clean coffee from around the cup holders. Clean the console beside the seats, don't forget the seat belt buckle and where the seat back and base meet. Also clean the trim around the seat base and seat tracks.
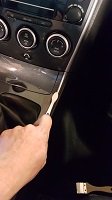
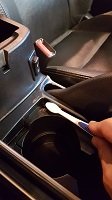
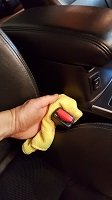
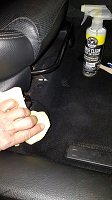
Clean the door much like the dash areas. Once the flat areas are cleaned, concentrate on the holes and slots cleaning deep recesses. Use the toothbrush to clean into tight crevasses and seams.
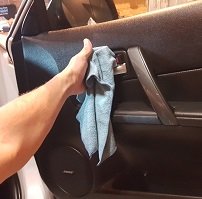
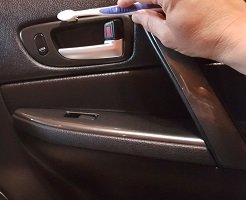
To get around the electrical switches, the toothbrush is a great tool. Be sure to spray the toothbrush sparingly, and not the switch. Cleaning chemicals in a switch can lead to switch failure. If you have what I call "Cone Kickers" or people who like to push the door open with their dirty shoes...First disown them...Then use the toothbrush to gently scrub in the mesh of the speaker.
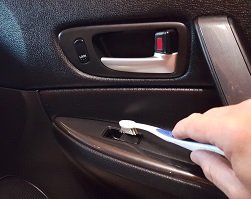
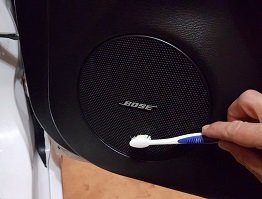
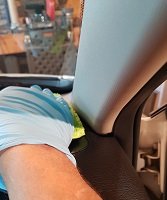
Don't forget to wipe the rim around the window. Finally clean the door pillar plastic and threshold. Repeat these processes for all the doors as you work the interior of the car in those areas.
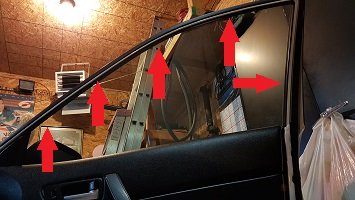
Refer to my JP's GT Introduction to detailing 101 for more information on basic detailing tools and items.
The easiest way to keep your car's interior clean is largely based on your daily habits. Obviously a car that sees more use, or more passengers will generally need more frequent cleaning. The more daily care you put into maintaining a clean car, the less of a chore cleaning will be. Do you toss your work clothes in the back seat and boots on the floor? My OCD about car cleanliness has me constantly finding solutions to problems such as having a plastic bin to place my dirty work boots into and driving home in regular footwear. Sometimes circumstances dictate what your car will look like. A trip to the beach, parking on gravel, tracking in salt (for those who live in the rust belt). Inevitably your car's inside will need to be cleaned and protected periodically regardless of your efforts.
I will be documenting the work on my 2006 Mazdaspeed 6. Although this car is well maintained and receives regular detailing, I hope to display a through detail maintenance roadmap.

Process - This is a rundown of the path I follow to do a regular interior detail. I will expand on each below.
Carpet & Mats
Vinyl/Plastic Cleaning & Protection
Leather Cleaning & Rejuvenation
Windows
Carpet & Mats - Start with removing any garbage from the car. Also remove loose items and set aside, empty the cup holders & storage shelves and take out your floor mats. Vacuum the car to remove dirt and debris using the brush attachment and vigorously scrub the carpet. Reach beside the seats and in tight spaces with a crevice tool. Vacuum cup holders and map pockets, being careful not to scratch any plastic.
When vacuuming inside the car be mindful of the hose that lays across the plastic door threshold. Any grit and dirt from the hose touching the ground could also scratch plastics. Never pass the hose across the interior to vacuum the other side, move the vacuum around to the other side of the car.


Vacuuming will remove dirt and debris, but next the carpet needs a little help to loosen up a little more dirt and to help rejuvenate the fibers. Spray 2-3 mists of a quality All Purpose Cleaner (APC) and using a utility brush, scrub left to right and front to back.
Apply APC sparingly, we are not looking to shampoo the carpet, just to help loosen dust and oils embedded in the carpet. Over application can lead to residual APC in the carpet which can be reactivated by water on your shoes on a rainy day or while washing your car, then will gently clean the soles of your shoes using your carpets.


Use a toothbrush to reach tight spaces where the utility brush cant. Next spray 5-6 mists of water from a spray bottle and again using a utility brush, scrub left to right and front to back. With a toothbrush scrub along the edge of plastic trim to loosen up fine particles from under the edge of the plastic, especially along the door threshold.


Follow up with a final vacuum of the carpet to remove any loosened particles. Using a microfiber (MF) towel, absorb any remaining diluted solution from the carpet.


Complete the same procedure on your factory carpeted floormats. If you have wear spots from your heels on the drivers mat, scrub well with the utility brush to loosen up and rejuvenate the carpet pile.

Vinyl/Plastic Cleaning & Protection - There are a couple of paths to follow here depending on how much detailing that needs to be accomplished. For seriously soiled interior plastics, such as spills, dirt, thick layer dust, you would be best to start with a bucket of warm soapy water and cleaning rags. Complete the following roadmap wiping the large areas with warm soapy water then follow up with an APC wipe down as follows. If you don't require a deep detailing, start directly with an APC, a MF towel and some detailing hand tools. Move the front seats to the full back position.


Start by applying a few sprays of cleaner to a MF towel. Do not apply cleaner directly to the surfaces you are trying to clean, instead hold the MF towel outside the car and spray. Begin with cleaning the dash on the passenger side as usually you have more room to clean a larger area. I will clean a car with my feet outside the vehicle, if you require to sit fully inside the car place something on the carpet you just cleaned. While wiping down, regularly refold your MF towel, respray and continue. Open compartments to clean around and inside. Use brushes and q-tips to clean vents and small spaces.


Work down the center of the dash to the console, cleaning around the shift boot and into the cup holder. A toothbrush comes in handy to clean seams and clean coffee from around the cup holders. Clean the console beside the seats, don't forget the seat belt buckle and where the seat back and base meet. Also clean the trim around the seat base and seat tracks.


Clean the door much like the dash areas. Once the flat areas are cleaned, concentrate on the holes and slots cleaning deep recesses. Use the toothbrush to clean into tight crevasses and seams.


To get around the electrical switches, the toothbrush is a great tool. Be sure to spray the toothbrush sparingly, and not the switch. Cleaning chemicals in a switch can lead to switch failure. If you have what I call "Cone Kickers" or people who like to push the door open with their dirty shoes...First disown them...Then use the toothbrush to gently scrub in the mesh of the speaker.


Don't forget to wipe the rim around the window. Finally clean the door pillar plastic and threshold. Repeat these processes for all the doors as you work the interior of the car in those areas.

Last edited:

